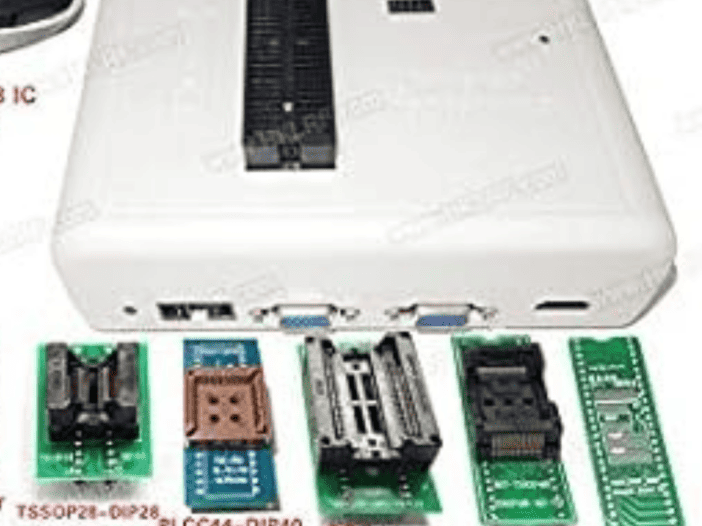
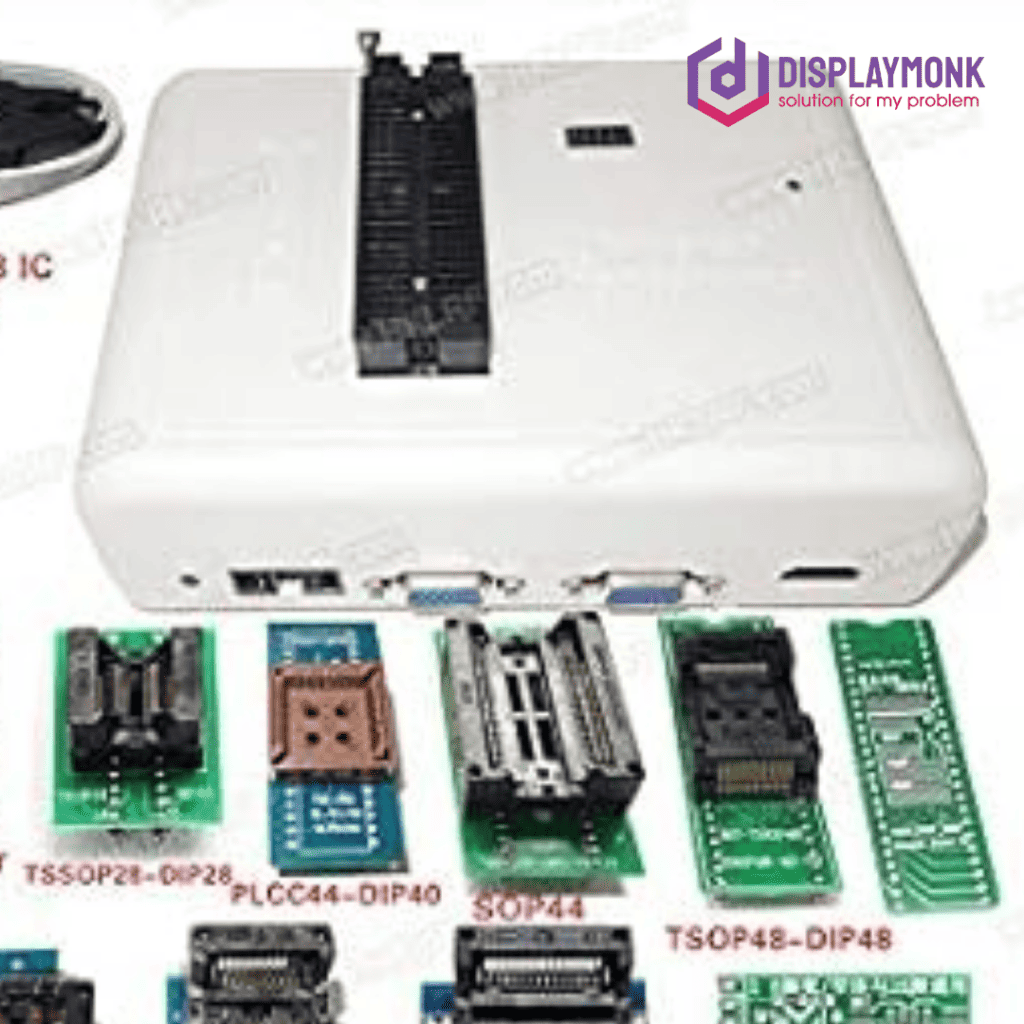
Rt809h is a free software toolchain in the English language download. Rt809f universal programmer driver, we had checked it on Windows 10. The driver is running smoothly. If you install the software, there is no need to install a separate driver for the Rt809f universal programmer. Rt809h can be available on olx but on olx, you can get not a great quality machine.
It can happen that the wire of the Rt809h programmer adapter may be broken or not working adapter. So it is advisable to look carefully or fully avoid websites like OLX, eBay, etc for new ones. As Rt809h universal programmer comes with an also lesser price that we can afford. This toolkit very helpful in programming bios which are very helpful in laptop repairing cases – no display for laptop, no display for desktop, sometimes controllers like keyboard, mouse, pch, sio not working.
RT809f is one of the famous programmers for laptop bios programming in laptop repairing.
It is also used in desktop motherboard repair for formatting bios. You can pruchase this programmer from amazon.com at Indian rupees ₹18,530. There is also low price bios programmer which is rt809f bios programmer which is basic usage. The specifications for the Rt809h bios programmer are as follows.
| Model Name | Rt809h |
| Screen Size | 7 Inches |
| RAM Memory Installed Size | 64 GB |
| Compatible Devices | Personal Computer, Laptop |
| Manufacturer | DHRUV-PRO |
| Display Type | LCD |
| CPU Manufacturer | Via |
Programmer purchase link for rt809h universal programmer
the Rt809h universal bios programmer is available for purchase. You can buy it from amazon.com rt809h programmer and use it. It comes with Bios different many more holdings for almost any type of bios chip programming.
Also with rt809h there comes a wire to connect to a computer. All parts come with from the company.
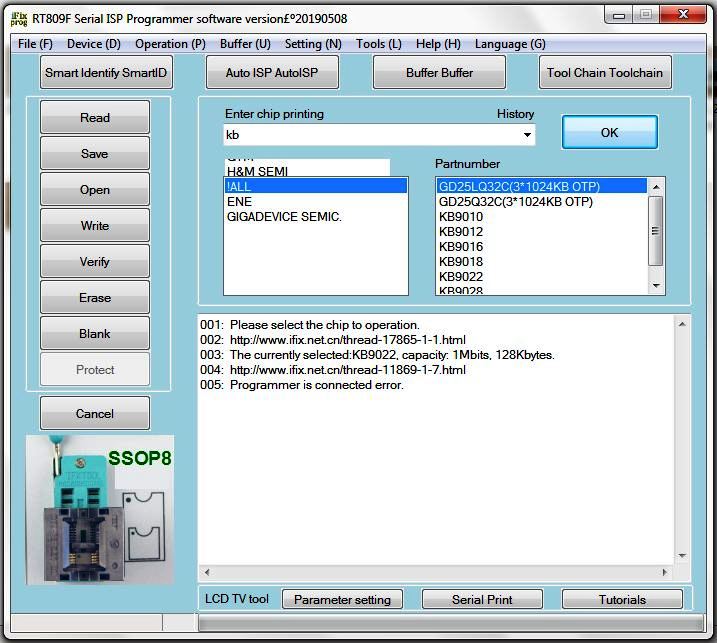
How to install Rt809h programmer toolkit software
You have to install the rt809f toolkit software on your computer. from below
You can download the bios files for free of cost. Find them according to your laptop motherboard model.
After the successful write operation, you can close the software and remove the bios. Then insert it into the laptop motherboard and the problem must be fixed.
thank you!